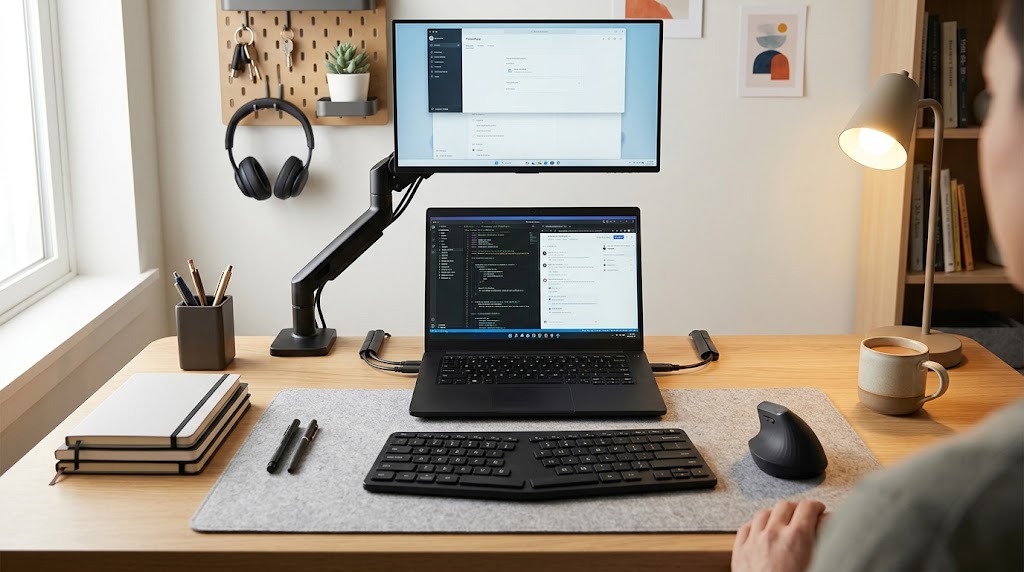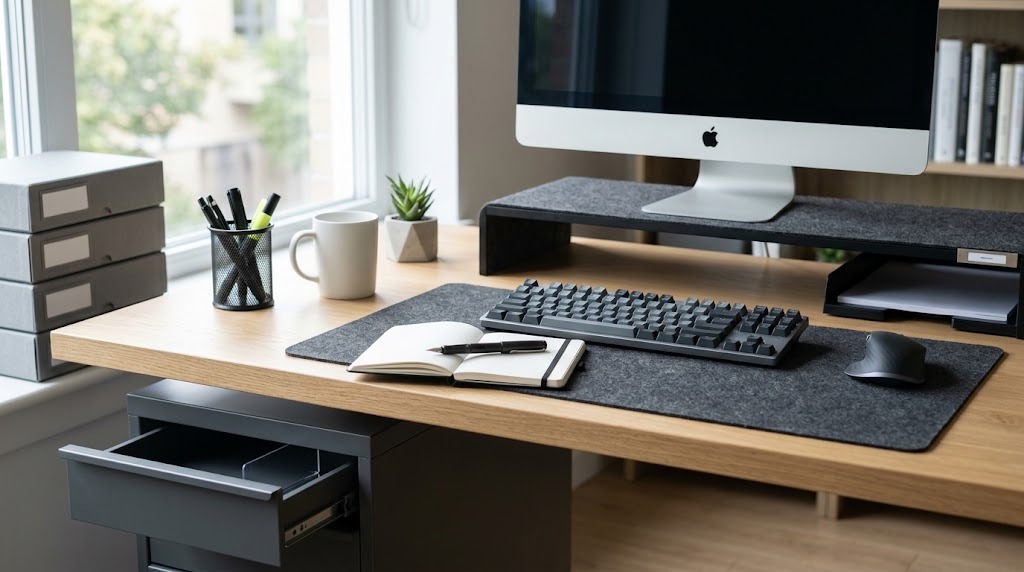
Cable management is the systematic organization, routing, and protection of electrical and data wires to prevent tangles, eliminate safety hazards, and optimize signal performance. Proper implementation uses under-desk trays, reusable ties, and rigid raceways to separate high-voltage power from low-voltage data, reducing electromagnetic interference while creating a visually clean workspace.
Key Facts / At a Glance
- Optimal routing separation: Power and data lines must remain at least two inches apart or cross at strict 90-degree angles to prevent electromagnetic interference (EMI).
- Slack allowance: Every cable termination requires a 2-to-3-inch slack loop to prevent stress on copper internal wires and delicate device ports.
- Fastener standard: Hook-and-loop (Velcro) straps have replaced plastic zip ties as the industry standard to prevent pinched outer jackets and facilitate easy adjustments.
- Thermal management: Enclosing multiple power adapters in unventilated plastic boxes causes severe heat buildup; wire mesh baskets are required for active power bricks.
- Length discipline: Purchasing custom-length cables with no more than 12 inches of excess eliminates the need for bulky bundling.
How Does Proper Cable Management Work?
Proper cable management works by systematically isolating power sources from data lines and anchoring them along designated pathways using physical enclosures. Tackling an unorganized web of cords requires a specific sequential workflow to prevent routing conflicts and ensure future accessibility. Attempting to manage cables while devices remain plugged in generally results in uneven tension and trapped cords.
Step 1: Disconnect and Audit
Disconnecting every cable completely from the wall and the devices is the mandatory first step. Unplug all hardware, untangle the entire mass on the floor, and wipe away accumulated dust. This audit phase allows you to purge unused legacy connections and identify cables that are unnecessarily long. Replacing a generic 12-foot HDMI cable with a precise 4-foot version eliminates 8 feet of wasted slack.
Step 2: Group and Route
Routing defines the physical path wires will travel from the power source to the hardware. Group cables by type before routing: bundle power cables together and keep them physically isolated from sensitive data lines like Ethernet, HDMI, or speaker wire. Plan the route along structural elements like desk legs, baseboards, or the back edges of furniture, ensuring no path crosses a high-traffic floor space.
Step 3: Anchor and Enclose
Anchoring secures the routed bundles against gravity using hardware. Start from the heaviest component—typically the power strip—and mount it underneath the desk or behind the media cabinet. Run the grouped cables through raceways or wrap them in flexible sleeves, clipping the bundles to the desk frame every 12 to 18 inches. Anchor points must support the weight of the cable drop so gravity does not pull on the device ports.
Step 4: Label and Maintain
Labeling guarantees that future troubleshooting does not require tracing a single black wire through a thick bundle. Apply physical tags to both ends of every cable, identifying the destination device. Professional environments adhere to ANSI/TIA-606-C standards for consistent naming conventions, but home users can utilize simple printed wrap-around labels or color-coded clips to instantly identify connections.
What Are the Best Cable Management Tools?
Choosing the right cable management tool depends on the volume of wires, the required weight capacity, and whether the cables will remain static or require frequent adjustment. Rigid channels work best for permanent installations, while flexible wraps accommodate moving parts.
| Management Tool | Primary Application | Typical Cost | Installation Time | Key Advantage | Notable Drawback |
| J-Channels & Raceways | Concealing static runs along walls and baseboards. | $15 – $40 | 20 – 45 mins | Completely hides cables inside a rigid, paintable track. | Adhesive backing can permanently damage drywall upon removal. |
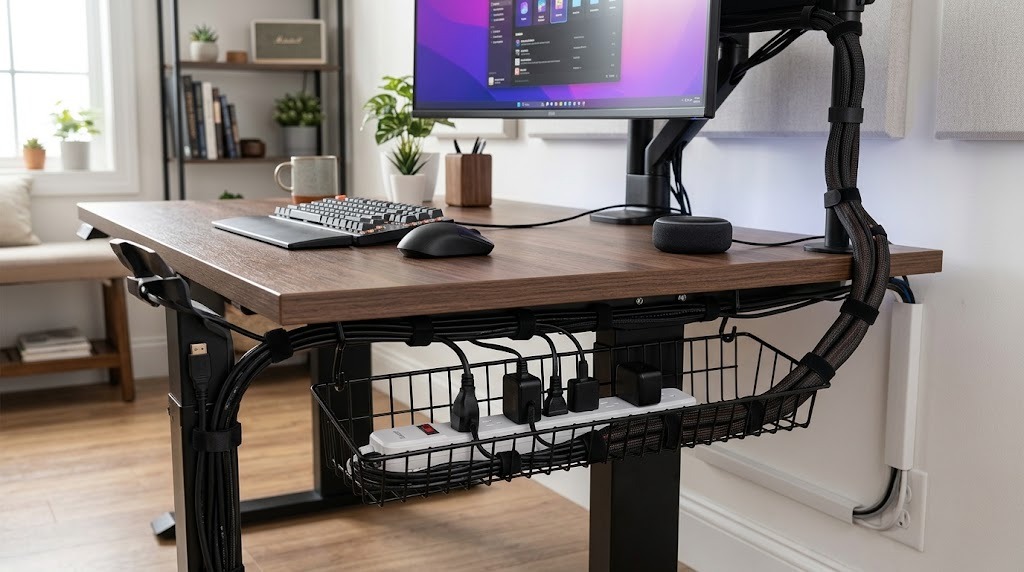
| Under-Desk Baskets | Supporting heavy power strips and charging bricks. | $20 – $50 | 15 – 30 mins | Open wire mesh provides maximum airflow to prevent overheating. | Requires drilling into the underside of the desk surface. |
| Split Wire Sleeves | Bundling multiple loose lines into a single umbilical cord. | $10 – $25 | 10 – 15 mins | Expands to accept new cables; protects wires from chewing pets. | High-capacity sleeves look bulky if not routed cleanly. |
| Velcro Straps | Grouping excess slack and binding monitor lines. | $5 – $15 | 5 – 10 mins | Infinitely reusable; cannot be over-tightened to crush wire jackets. | Lacks the structural rigidity to anchor cables to a wall alone. |
| Adhesive Clips | Guiding individual lightweight chargers (e.g., phone cords). | $8 – $15 | 5 mins | Precise routing; prevents loose ends from falling behind nightstands. | Adhesives fail quickly if the cable is pulled or placed under tension. |
Which Cable Management Ideas Suit Your Setup?
The optimal cable management strategy shifts based on the environment’s specific hardware load, movement requirements, and aesthetic goals. A stationary home theater demands entirely different hardware than a motorized standing desk.
The Home Office and Standing Desk
The home office requires flexibility for changing peripherals and managing motorized desk heights. Mount an under-desk wire mesh basket to hold the primary surge protector and laptop power bricks. Route all monitor and peripheral cables into a single flexible split-sleeve umbilical cord that travels down one desk leg. For standing desks, this umbilical cord must contain enough vertical slack to accommodate the desk’s highest elevation without pulling the power strip out of the wall.
The Heavy-Duty Gaming Station
Gaming setups generate massive cable volume due to multiple monitors, RGB lighting controllers, high-wattage PC power supplies, and external audio interfaces. Gamers should utilize rigid J-channel raceways mounted directly to the rear edge of the desk. To minimize desktop clutter, use right-angle HDMI and DisplayPort adapters so thick display cables immediately drop downward behind the monitors rather than pushing outward.
The Living Room Home Theater
Home theaters prioritize total visual invisibility. When mounting a television, use paintable on-wall plastic raceways to hide the vertical drop to the media console. If local fire codes permit, install an in-wall cable routing kit with brush plates to run low-voltage signal cables behind the drywall. Choose media cabinets with removable, ventilated back panels to easily bundle excess lengths of speaker wire using Velcro straps while maintaining airflow for AV receivers.
What Are Common Cable Organization Mistakes?
The most common cable organization mistakes involve ignoring thermal dynamics, applying improper physical tension, and utilizing permanent fasteners that damage equipment.
- Over-tightening plastic zip ties: Plastic zip ties feature sharp edges when cut and are nearly impossible to remove without risking damage to the cables beneath them. Over-tightening pinches the outer jacket and crushes the internal fiber optic or copper strands. Always utilize reusable hook-and-loop (Velcro) straps instead.
- Running power and data parallel: Laying unshielded high-voltage power cords directly alongside low-voltage audio or Ethernet cables introduces electromagnetic interference. This causes static buzzing in speakers and dropped data packets on networks. Cross these lines at a 90-degree angle, or maintain a minimum 2-inch separation if they must run parallel.
- Suffocating power adapters: Shoving multiple laptop chargers, console bricks, and power strips into a sealed plastic “cable management box” traps radiant heat. This thermal buildup drastically reduces the lifespan of power supplies and creates a fire hazard. Rely on open-air wire baskets for any component that generates heat.
- Pulling cables too taut: Routing cables with zero slack places severe mechanical stress on both the wire terminations and the expensive ports on the hardware. Always build a 2-to-3-inch slack loop just before the connector to absorb accidental bumps or desk vibrations.
Frequently Asked Questions
How do I manage long cables that I cannot replace?
Loop the excess length in a figure-eight pattern rather than a tight circle, and secure the center with a Velcro tie. A figure-eight loop prevents the copper wires from twisting internally and reduces the magnetic field coil effect generated by circular power cables.
Can I run a TV power cord behind the drywall?
No, running a standard television power cord behind drywall violates the National Electrical Code (NEC) and voids most homeowners’ insurance policies. You must install a specialized in-wall power extension kit equipped with proper Romex electrical wire to safely provide a hidden outlet behind the screen.
What is the best way to hide cords across a floor?
Use low-profile rubber cord covers with a sloped edge to route cables across walkways safely. These covers lay flat, grip hard surfaces to prevent sliding, completely conceal the wires, and eliminate tripping hazards in open-concept rooms.
Are wireless devices better for a clean setup?
Yes, wireless peripherals immediately eliminate desktop clutter. Utilizing wireless mice, keyboards, streaming sticks, and wireless home theater subwoofers removes the most visible routing challenges. However, battery-powered devices introduce the new requirement of managing temporary charging cables on the desktop.