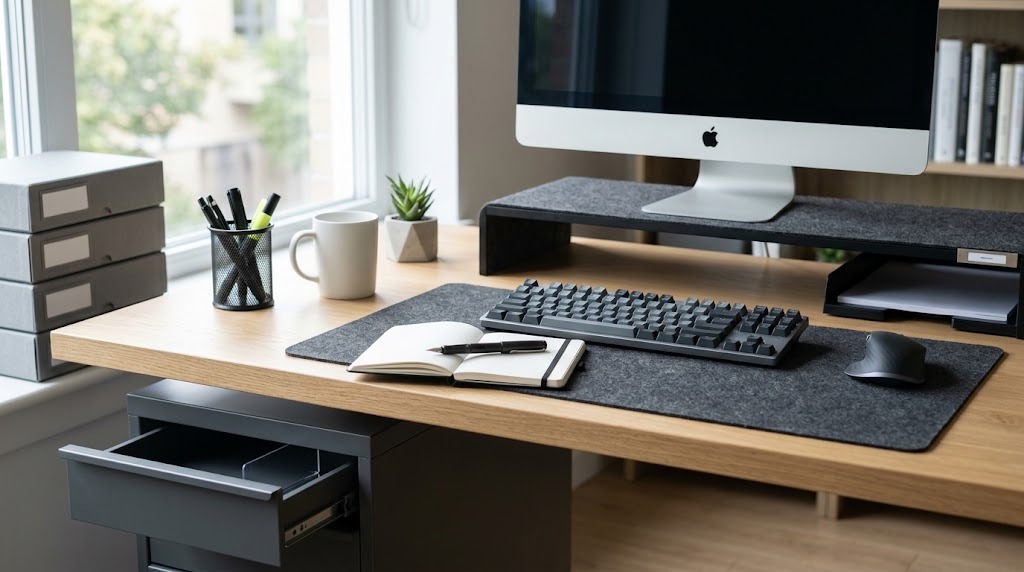
Desk drawer organization is the systematic process of sorting, purging, and assigning designated zones to workspace contents using modular divider trays. This ergonomic framework eliminates visual clutter, optimizes limited internal dimensions, and minimizes the physical friction of retrieving high-frequency work tools during focused tasks.
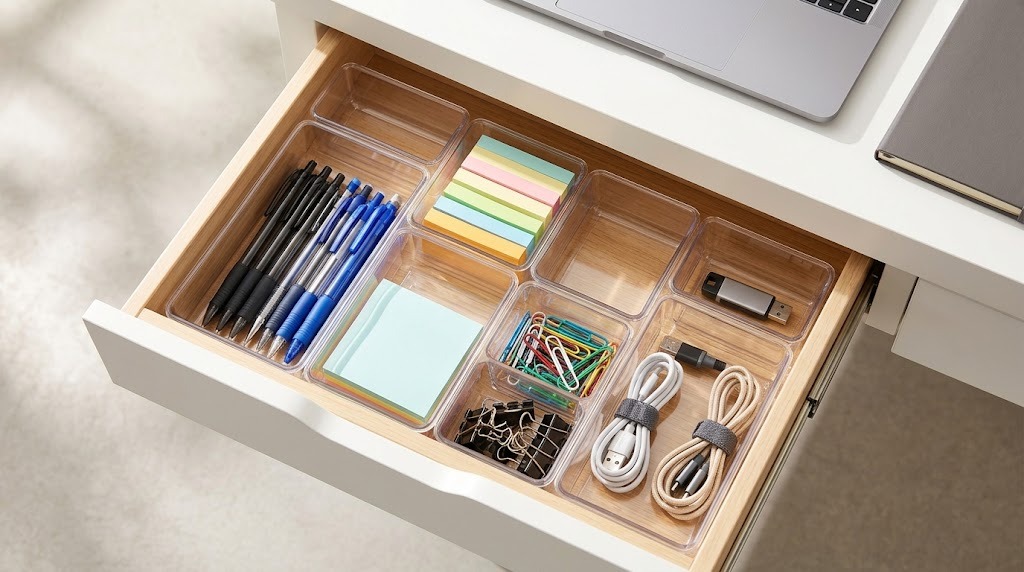
Key Facts / At a Glance
- Standard shallow desk drawers feature an internal clearance of 1.5 to 2.5 inches, requiring organizer trays to sit at least 0.25 inches below the upper frame.
- A single standard desk drawer requires 20 to 45 minutes to empty, measure, and organize; an executive pedestal desk requires 1.5 to 2.5 hours.
- Basic modular plastic starter sets cost $10 to $15, while fully integrated bamboo or custom acrylic systems range from $30 to $60 per drawer.
- Fixed grid inserts offer high stability but fail to accommodate non-standard tools like rulers or oversized calculators.
- Anchoring lightweight trays with silicone bumper dots or museum gel prevents violent backward sliding when drawers close.
Before You Start
- Total Time: 30 minutes per drawer.
- Difficulty: Beginner.
- Estimated Cost: $15 to $50 depending on materials.
- Prerequisites: A clear desktop surface for sorting.
- Tools & Materials: Tape measure, microfiber cloth, multi-surface cleaner, your chosen organizer bins, washable silicone drawer liner, and double-sided gel tape (or 3M Bumpons).
Why Do Desk Dimensions Dictate Drawer Organization?
Ergonomic standards established by ANSI/BIFMA and the ADA heavily restrict desk drawer heights. To maintain a healthy viewing distance to your monitor, desks require specific legroom depths, and ADA guidelines mandate a minimum of 27 inches of knee clearance under an accessible surface. Because a standard desk surface sits at 29 to 30 inches high, manufacturers are forced to make center and top pedestal drawers incredibly shallow—often leaving less than 2.5 inches of internal vertical clearance. You must organize horizontally because vertical stacking is physically impossible.
The 6-Step Desk Drawer Organization Methodology
Organizing a desk drawer requires a strict spatial methodology to ensure the final layout withstands daily momentum.
Step 1: The Empty-Out and Cleanse
Remove 100% of the drawer contents and place them on a flat desktop surface. Wipe down the interior of the empty drawer with a microfiber cloth and a mild surface cleaner to remove accumulated dust, eraser shavings, and graphite residue.
- Specifics: Never attempt to organize around existing items. Complete extraction is mandatory.
- Success Checkpoint: You will know it worked when the drawer is entirely bare and physically clean.
- Common Mistake: Wiping the drawer with a soaking wet cloth can warp MDF or raw wood bottoms. Use a damp cloth only.
Step 2: The Category Sort
Group like items with like items across your desktop. Create distinct physical piles for writing instruments, paper management tools (staples, clips), digital media (flash drives, dongles), and personal items.
- Specifics: Break large categories down. Separate highlighters from ballpoint pens.
- Success Checkpoint: You can instantly point to the pile containing all your charging cables.
- Common Mistake: Creating a “miscellaneous” pile. Force every item into a distinct functional category.
Step 3: The Ruthless Purge
Test all pens and immediately discard dry ones. Eliminate duplicates, keeping only two or three of your preferred writing tools active. Relocate non-desk items—such as loose change, old receipts, or snacks—to their proper homes in a wallet, file, or kitchen.
- Specifics: If you have not used an item in the last 60 days, move it to deep storage (a bottom file drawer) or discard it.
- Success Checkpoint: Your total inventory volume should be reduced by at least 30%.
- Common Mistake: Keeping low-quality promotional pens out of guilt. Keep only the tools that reduce friction.
Step 4: Laser-Precise Measurement
Use a tape measure to record the exact internal Width, Depth (front-to-back), and Height (clearance) of your empty drawer. Measure twice.
- Specifics: Standard office supply organizers vary wildly. A Deflecto low-profile tray is 1.13 inches high, an Officemate tray is 2.25 inches high, and a Rubbermaid tray is 2.37 inches high. Always subtract 0.25 inches from your drawer’s internal height when shopping to guarantee clearance.
- Success Checkpoint: You have a written note of your absolute maximum dimensions before purchasing trays.
- Common Mistake: Forgetting to account for screw heads or internal locking mechanisms that drop slightly below the top of the drawer frame.
Step 5: Mapping and Sizing Trays
Arrange your sorted categories into your purchased organizer trays on a table, keeping within a taped-out footprint that matches your drawer’s exact dimensions. Place high-frequency items (pens, sticky notes) at the very front of the layout and low-frequency items (extra staples, specialized cables) at the back.
- Specifics: Maintain at least one open, un-partitioned rectangular zone for long, awkward items like scissors or 12-inch rulers.
- Success Checkpoint: Every sorted item fits into a designated boundary without overflowing.
- Common Mistake: Over-partitioning. Buying an organizer with 20 tiny one-inch slots looks visually appealing but fails functionally when you need to store a standard calculator.
Step 6: Installation and Locking
Insert your configured trays into the drawer. Apply double-sided gel tape or clear silicone bumper dots (like 3M Bumpons) beneath the corners of the trays to lock them to the drawer floor.
- Specifics: If you skip anchoring, the momentum of slamming the drawer shut will cause lightweight plastic trays to violently slide toward the back.
- Success Checkpoint: You can open and close the drawer rapidly without hearing plastic shifting.
- Common Mistake: Using permanent adhesives. Use non-marking museum gel or silicone that allows you to reconfigure the layout later.
Which Organizer Material Should You Choose?
Selecting the right organizing framework depends on your budget, acoustic preferences, and the specific tools you store. Explore the differences using the interactive tool below.
Material Comparison Breakdown
| Material Type | Best Suited For | Estimated Price | Pros | Cons |
| Clear Acrylic / Plastic | Modern offices, high-visibility setups | $10 – $30 | Ultra-scannable; easy to clean; highly modular puzzle-piece configurations. | Scratches easily; items clatter loudly when the drawer opens. |
| Sustainable Bamboo | Executive desks, deep pedestal drawers | $20 – $55 | Premium structured look; highly durable; heavy enough to resist sliding. | Thick wooden walls consume valuable internal storage volume. |
| Felt / Fabric-Lined | Tech accessories, delicate spectacles | $15 – $35 | Completely silent operation; absorbs impact; prevents scratching on tech. | Attracts dust and eraser shavings; impossible to clean if a pen leaks. |
| Metal Wire Mesh | Heavy-duty utility drawers | $12 – $25 | Breathable; highly durable; affordable. | Industrial aesthetic; tiny items like paperclips can slip through gaps. |
The Verdict: Choose Acrylic modular bins if you need maximum layout flexibility and have a tight budget. Choose Bamboo if aesthetic warmth and structural weight are more important than maximizing every square inch of volume.
Common Mistakes and How to Fix Them
Desk organization frequently fails a few weeks after implementation due to mechanical friction or poor layout choices.
- The “Eye-Balling” Trap (Drawer Jamming): You purchase an organizer tray without measuring, and it scrapes against the upper desk frame, locking the drawer shut.
- The Fix: If a drawer is stuck, slide a thin metal ruler or putty knife over the top to press the offending item down. Moving forward, enforce the 0.25-inch clearance rule.
- The Dead Zone Syndrome: Many standard desk drawers use partial-extension slides, meaning the back 3 to 4 inches of the drawer never fully clear the desk frame.
- The Fix: Never place primary items in this zone. Fill the back of the drawer with long-term storage items or bulk overflow (like spare staples).
- Ink and Graphite Disasters: Loose pens leak, permanently staining the bottoms of expensive wood drawers or bamboo trays.
- The Fix: Line the bottom of the drawer or the interior of wooden trays with a washable, non-slip silicone drawer liner. It protects the wood and adds grip simultaneously.
How Should Different Professions Set Up Drawers?
Your occupation dictates your daily physical tools, which directly changes your ideal drawer topography.
For the Creative and Designer
Creatives require maximum visual scanning to locate specific brush sizes, marker tips, and cutting tools immediately. Use clear acrylic modular bins to separate tools by medium. Grouping by color or tool tip prevents frantic rummaging during a flow state.
For the Corporate Executive
Executives prioritize minimalism and aesthetics. Choose bamboo or premium felt inserts. Felt keeps the setup ultra-quiet, preventing distracting clattering sounds when reaching for a pen during high-stakes phone calls or video meetings.
For the Remote Tech Worker
Tech workers drown in cables, adapters, and dongles. Use felt-lined trays combined with reusable velcro cable ties. The felt protects delicate electronic finishes, and the cable ties prevent data cords from turning into a tangled nest.
For the Budget-Conscious Student
Students experience high tool turnover and frequent desk dining. Utilize interlocking plastic grid dividers. They are highly economic, durable enough for heavy rotation, and easily washed in a sink when ink or snacks inevitably spill.
Frequently Asked Questions (FAQ)
What is the best way to organize deep file drawers?
Deep file drawers (typically 10 to 12 inches high) should utilize hanging file folder frames for paperwork, or tall, vertical acrylic bins for storing larger items like headphones, bulk snacks, or rolled cables. Never stack loose items in a deep drawer.
How do I stop my organizer trays from sliding around?
Apply small squares of double-sided gel tape, non-slip museum gel, or silicone cabinet bumper dots to the four bottom corners of your tray. This anchors the tray to the drawer bottom while remaining removable.
Can I mix and match organizer materials?
Yes. A highly functional hybrid setup uses a felt tray for delicate electronics (like a phone or smart watch) and clear acrylic bins for messy items like pens and paperclips.
Are adjustable spring-loaded dividers better than fixed trays?
Spring-loaded dividers are excellent for creating large, custom partitions (like separating shirts in a dresser), but they fail in desk drawers because they lack the small, walled sub-compartments necessary to contain tiny items like thumbtacks and binder clips.